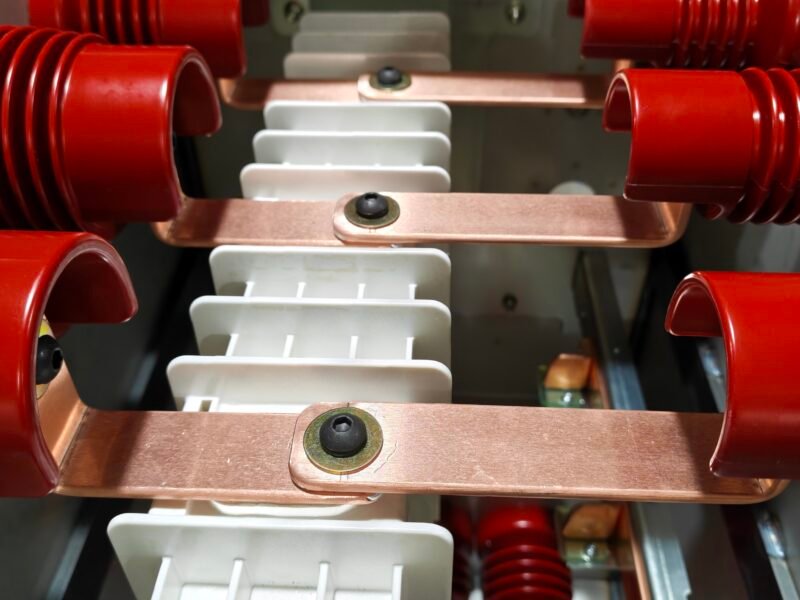
A switchgear panel rarely fails in the middle of a busbar. It fails at the joint, where two bars or a bar and a terminal meet under a few bolts. Contact area, torque, plating and dirt decide whether it runs cool for twenty years or cooks in its first summer. This guide covers our jointing sequence up to 36 kV, the numbers worth recording, and the checks that catch a bad joint early.
Why a bolted joint fails before the busbar does
A bar carries current through its full cross-section. A joint carries it through a handful of microscopic contact spots, and the real contact area is a small fraction of the overlap you can see. Under-torque, over-torque that crushes the plating, oxide films, burrs, a washer that has lost its spring, or a joint assembled in a humid shed all shrink those spots and raise resistance.
Loss at a joint is current squared times resistance, concentrated in a few cubic centimetres. At 630 A, a joint drifting from 8 µΩ to 40 µΩ burns roughly 16 W in a volume the size of a matchbox. Nothing melts at once, but the spot runs hotter, oxidises faster, and resistance climbs again — which is why a joint problem shows up as a hot spot on a thermal scan long before it shows up as a failed panel.
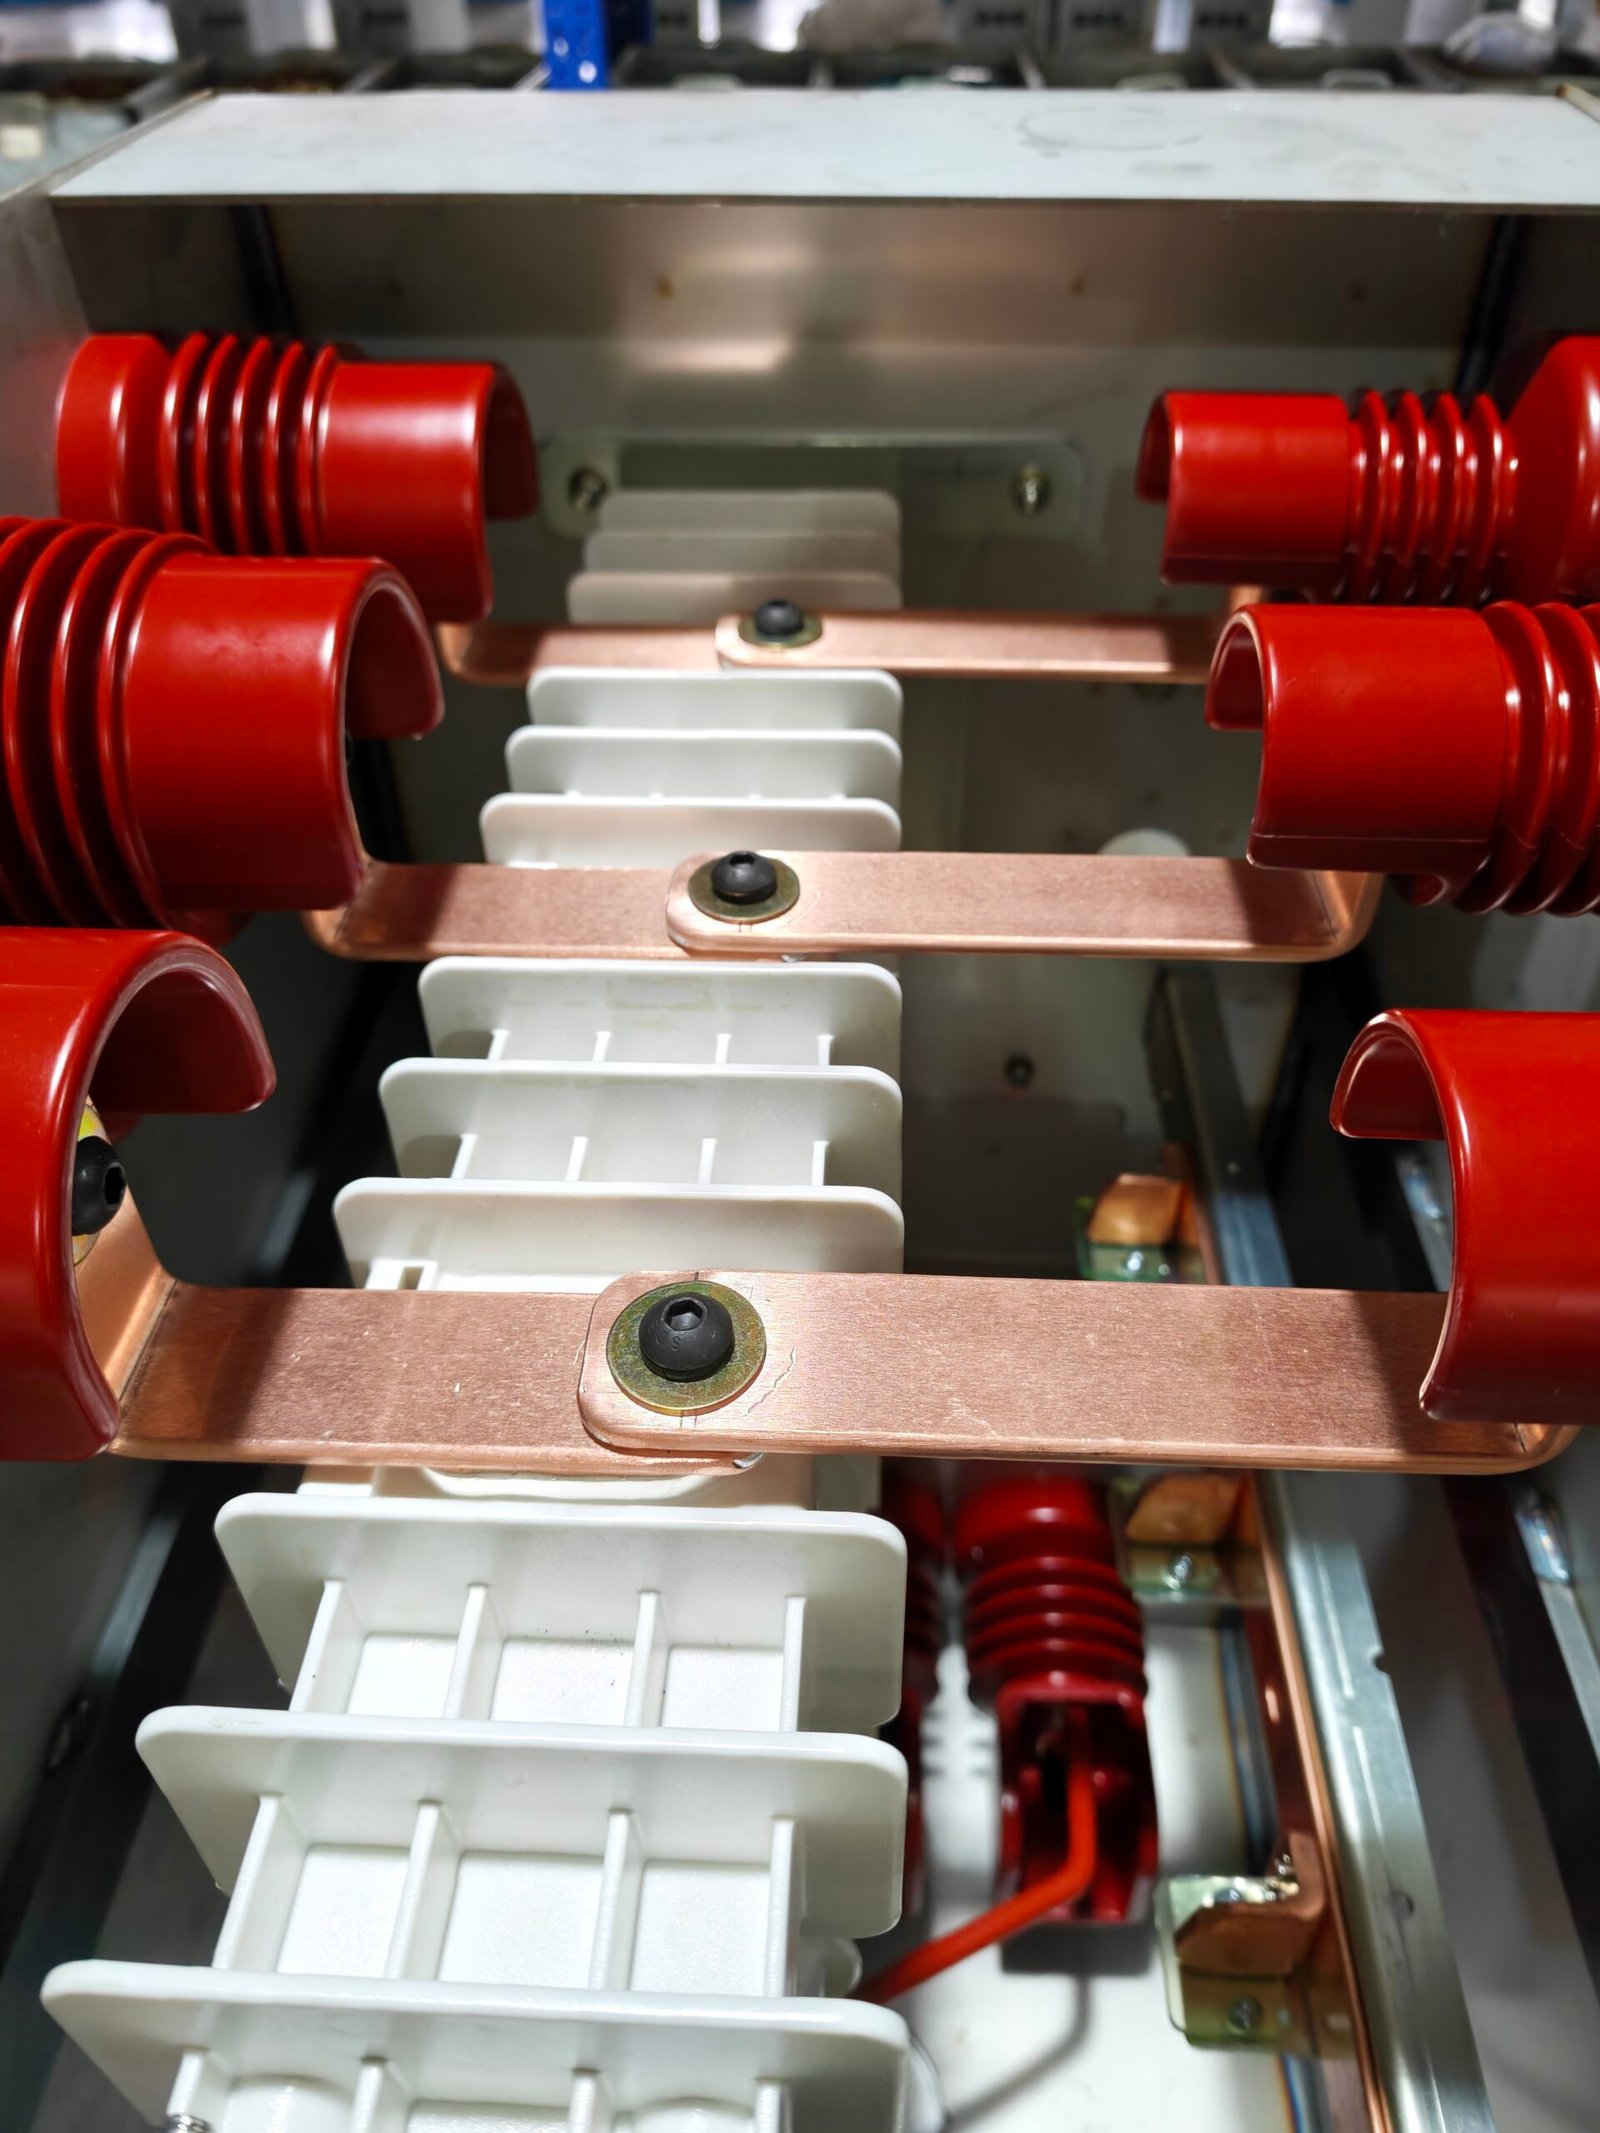
The six-step jointing sequence
- 1. Clean and inspect. Wipe off transport grease with solvent and a lint-free cloth, then look at the plating: scratches through to bare copper, grey oxide patches, burrs at the holes or a tin layer rubbed off at the edge all send the bar back to the bench.
- 2. Dress the contact faces. File any burr around the hole and wipe again; a burr of 0.1 mm holds the bars apart and turns a face contact into a line contact.
- 3. Apply compound only where the metal needs it. Aluminium grows a fresh oxide layer within minutes, so an inhibitor goes on immediately and the joint is assembled wet. Clean tinned or silver-plated copper normally goes together dry.
- 4. Align and clamp. Bring the holes concentric, insert bolts from the side with the best torque-wrench access, then flat washer, spring washer, nut. Correct misalignment with a reamer, never with a hammer.
- 5. Torque in two stages, crossing pattern. Half torque on every bolt first, then full torque in a crossing order so clamp load settles evenly. Use a calibrated wrench, mark each bolt with a paint pen, and write the value down.
- 6. Measure and record. A micro-ohmmeter across the joint, compared with an equal length of the same bar, says whether the interface is behaving. Within 10–20% of the bar baseline is normal; double is a joint to open before the panel is closed.
Torque and resistance targets
Torque is a proxy for clamp load, and clamp load is a proxy for contact area. The values below are typical for tinned copper bars with spring washers and are what we work to on our own panels; the hardware supplier’s table still governs, because stud grade and plating move the number.
| Busbar section | Bolt | Typical torque | Target joint resistance | Expected rise at rated current |
|---|---|---|---|---|
| 30 × 10 mm, 630 A | M8 | 20–25 N·m | ≤ 10 µΩ | under 25 K |
| 40 × 10 mm, 1,000 A | M10 | 35–45 N·m | ≤ 8 µΩ | under 30 K |
| 50 × 10 mm, 1,250 A | M12 | 55–70 N·m | ≤ 7 µΩ | under 35 K |
| 80 × 10 mm, 2,000 A | M12 | 70–90 N·m | ≤ 6 µΩ | under 40 K |
Two cautions. Over-torque damages as reliably as under-torque: the washer flattens, the plating extrudes, and the joint loses the elasticity it needs through thermal cycling. And the rise column is a working expectation, not the acceptance limit, which comes from the standard your panel is tested to; bare copper in air is normally held to 65 K over a 40 °C ambient.
Plating, dissimilar metals and compound
Plating is not decoration. Tin keeps copper from oxidising in storage and gives a soft layer that fills small imperfections under clamp load; silver does the same with better conductivity and much higher cost. Both are thin, 5 to 15 µm, and easy to destroy with a wire brush, so cleaning stops at solvent and cloth.
Aluminium to copper is the joint that catches people out: the two metals sit far apart on the galvanic scale, and with moisture present the aluminium becomes the anode. The fix is a bimetallic transition plate, or a plated aluminium bar with an inhibitor at the interface, sealed after assembly. A bare aluminium bar bolted straight to copper passes its factory test and fails two or three rainy seasons later. Compound belongs on aluminium, on joints assembled in high humidity, and on bars going into long storage; it is not a substitute for torque, and an insulating film between two bars is worse than a dry joint.
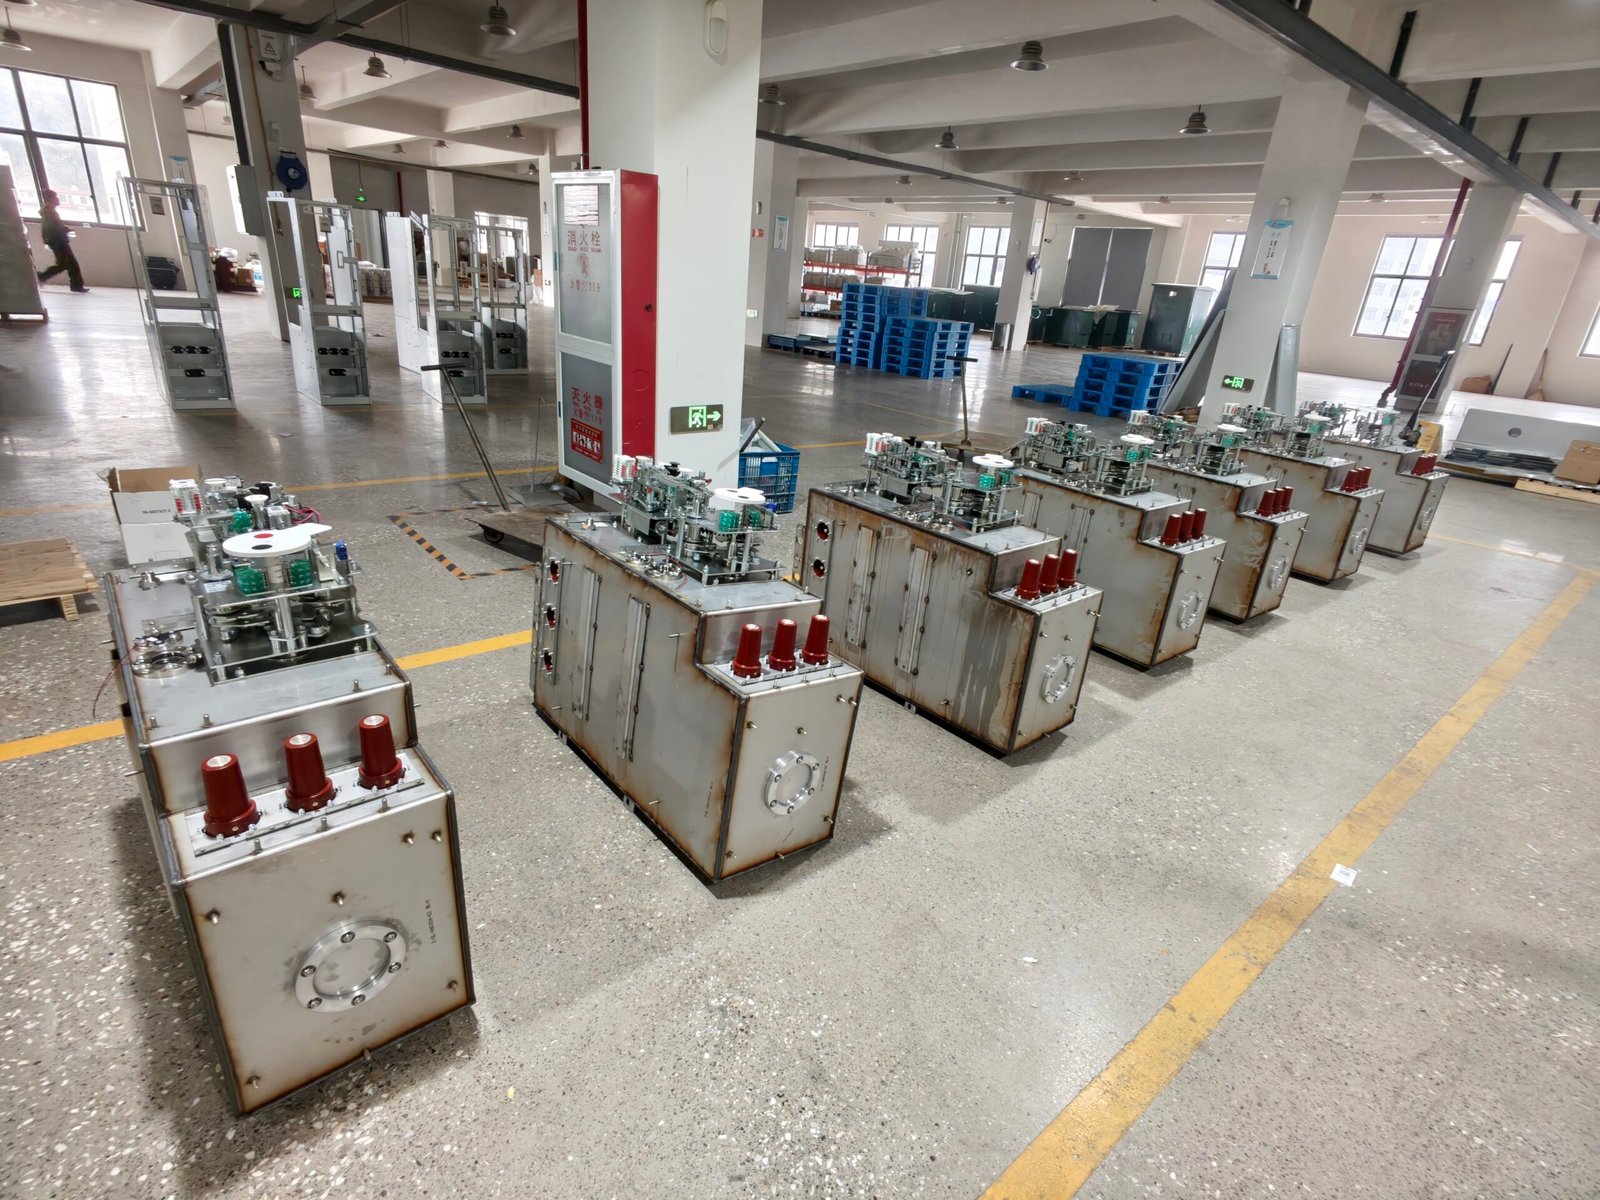
Checks after energisation
Commissioning catches what the bench missed. A thermal scan at 60–80% load, panel closed and load stable for an hour, shows joints running ten degrees hotter than their neighbours; that difference is the earliest reliable signal available.
After that the joint is a maintenance item. Sample retorque every two to three years, scan critical boards annually, and take a micro-ohm reading whenever a joint is opened for any other reason. For what sits around these joints — supports, barriers, arc control — see our guide to medium voltage switchgear components; for the sealed version of the same problem read the gas insulated busbar guide. The temperature behaviour is measured the same way as in our notes on the switchgear temperature rise test, and the space around a joint must respect the clearance and creepage distance rules for its voltage class.
Frequently asked questions
What torque should a busbar joint be tightened to?
Follow the supplier first. For tinned copper with spring washers: M8 20–25 N·m, M10 35–45 N·m, M12 55–70 N·m, in two stages, every bolt marked.
Is a higher torque always a better joint?
No. Once the washer flattens and the plating extrudes, clamp load stops rising and the joint loses the elasticity it needs for thermal cycling. Over-torqued joints measure well cold and drift warm.
How do I tell if a joint is bad?
Compare its micro-ohm reading with an equal length of the same bar: within 10–20% is normal, roughly double is a joint to reopen.
Can I bolt aluminium directly to copper?
Not unprotected. The pair corrodes wherever moisture sits. Use a bimetallic transition plate or a plated aluminium bar with an inhibitor, and seal the interface afterwards.
Do I need joint compound on tinned copper?
Usually not. Clean dry plated copper assembles well without paste. Compound is for aluminium, humid conditions and long storage.
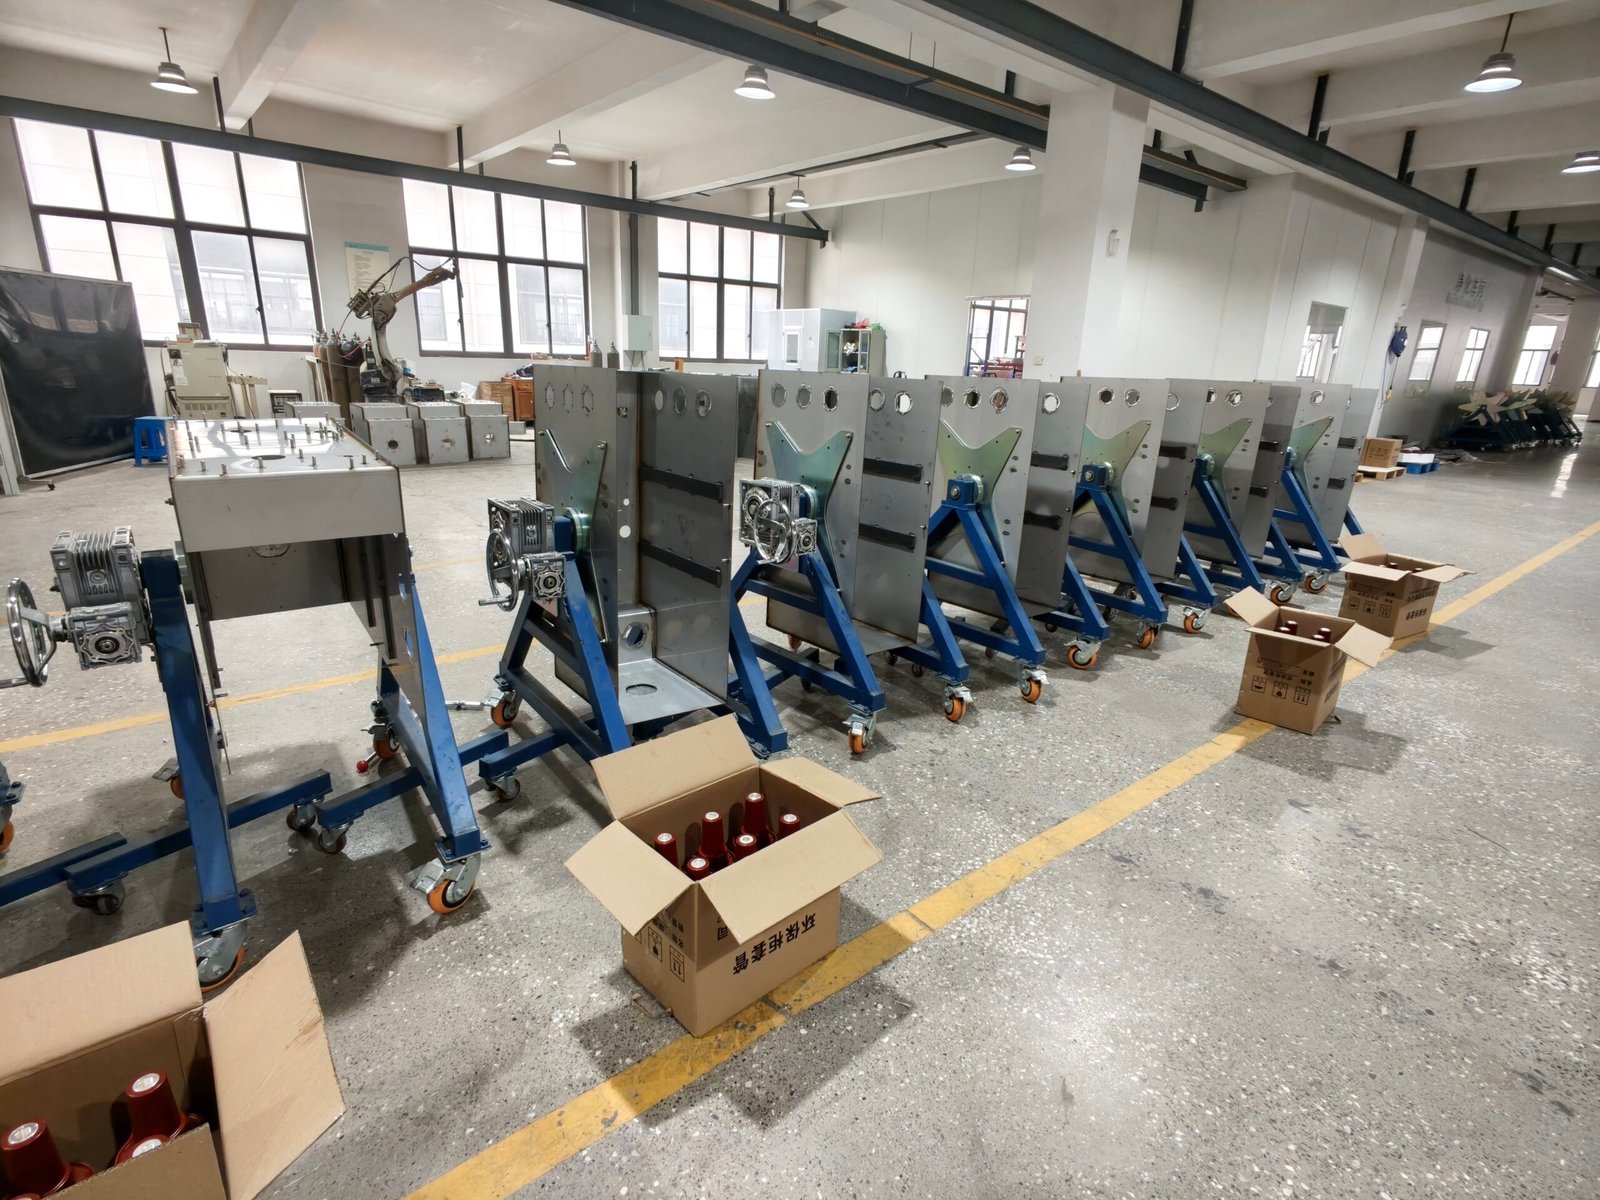
Where these panels are built
Electric-GS is an OEM/ODM switchgear factory in Yueqing, Zhejiang, China, building ring main units, gas insulated switchgear, vacuum circuit breakers and medium voltage panels up to 36 kV. For drawings or a quotation, write to info@electric-gs.com or message WhatsApp +86 135 8897 8050. The wider range sits on our sister sites, ElectricGS and Electric-CN.
Recent Comments